set up your listing

step by step

Here is how to set up your listing

Sole Logo 600x600

1. Get Started

To set up your listing you begin with the Create Your Listing button, which can be easily accessed from the menu. 

2. Select the Listing type for you

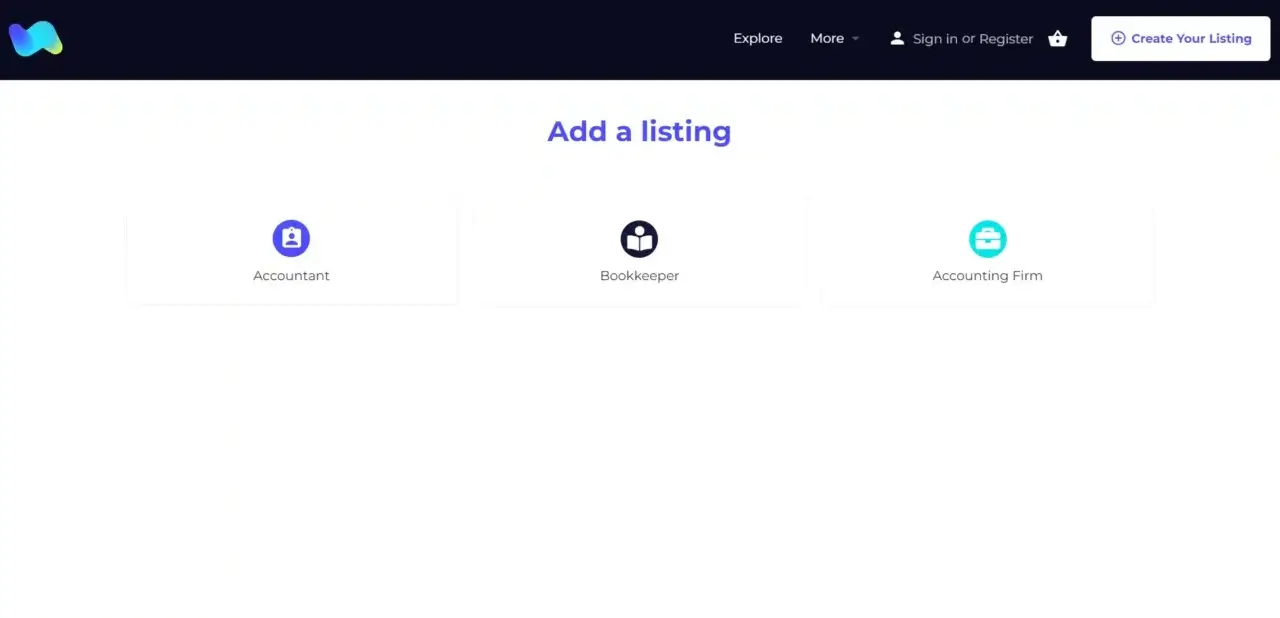
Choose the listing type that is most applicable to you or your company. For individuals, please select between “Accountant” and “Bookkeeper”. If you are a company, please select “Accounting Firm”.

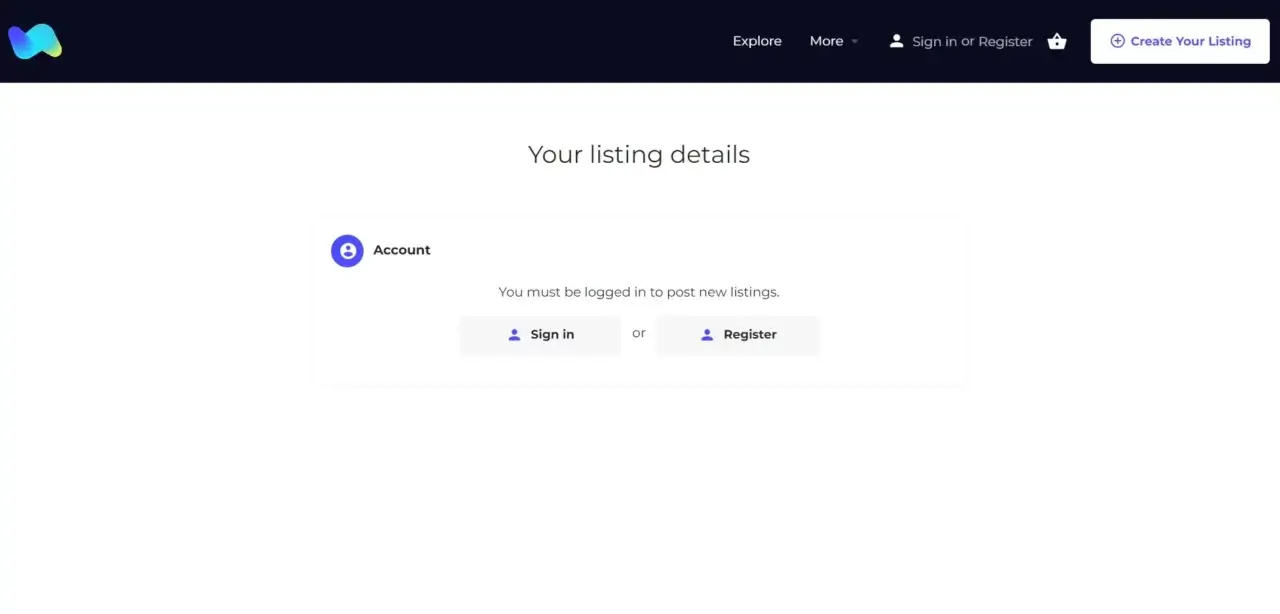
3. Select Sign in or Register

If you have an account you can sign in here, alternatively click on the Register button.

4. Create Your Account

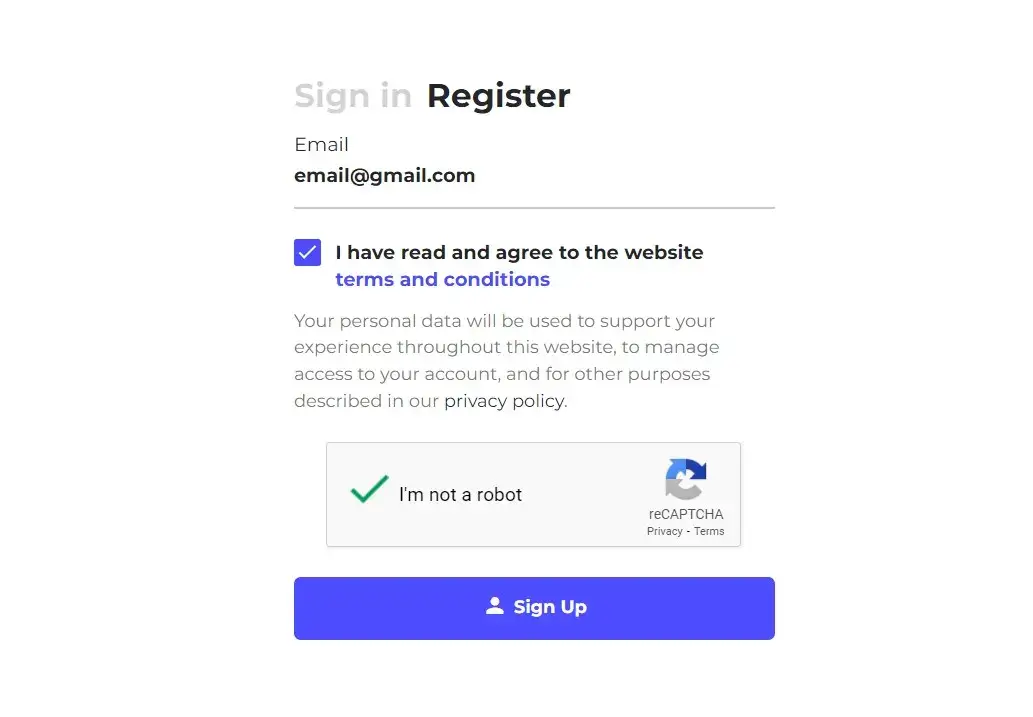
To submit your first Listing, you must first create and account using your email. Soon you will be able to join with your Facebook or Google account too.

Tip: You will be asked to confirm your registration via an email. 

5. Complete Your Listing

While not all fields are required to get started, we recommend that listings are as complete as possible.

Tip: The more complete the listing is, the better chance for you to be contacted by potential customers.

6. Listing Submission

After step 5 your Listing will be submitted to our team for approval. Once your Listing is approved you will receive and email.

Tip: You can make changes to your listing at any time including the approval period.

7. Promote Your Listing

If competition is fierce or you are just looking to get some more eyes on you Listing, consider promoting it.

When you Promote your Listing, it will receive higher search prominence, as well as be placed higher in the search results on our website. 

Promote Listings

Promotions are for a limited time and are purchased separately from the actual Listing.

Think of Promotions as a way to temporarily boost your listing, so that it is put in front of more potential customers.

Have a look at our Listing Priority Levels breakdown to learn more.

How To Promote

  1. While logged in, go to Your Dashboard.
  2. Locate the Listing you wish to Promote and click the Promote icon

3. Select the desired Promotion package.

4. Complete the Checkout process.

Promoted Listings are designated with a special badge that is shown in the upper left-hand corner of the Listing Preview Card.